Follow-along tutorial
This was my first ever time opening blender for longer than 10 seconds, and from peer feedback I was already informed that it can get very frustrating and convoluted, however I was also aware of how beneficial the ability to design my own 3D models would be when working in industry especially for commercial advertisement use and mock ups. The first task was to create a tube of lip balm only using blender.
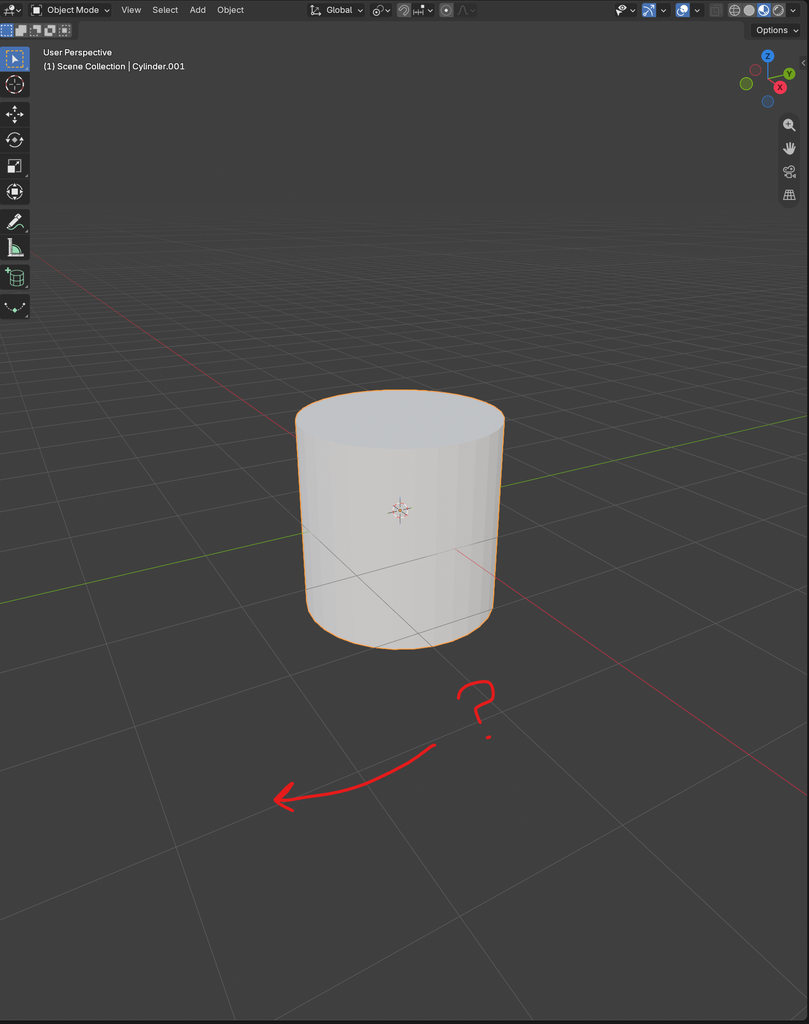
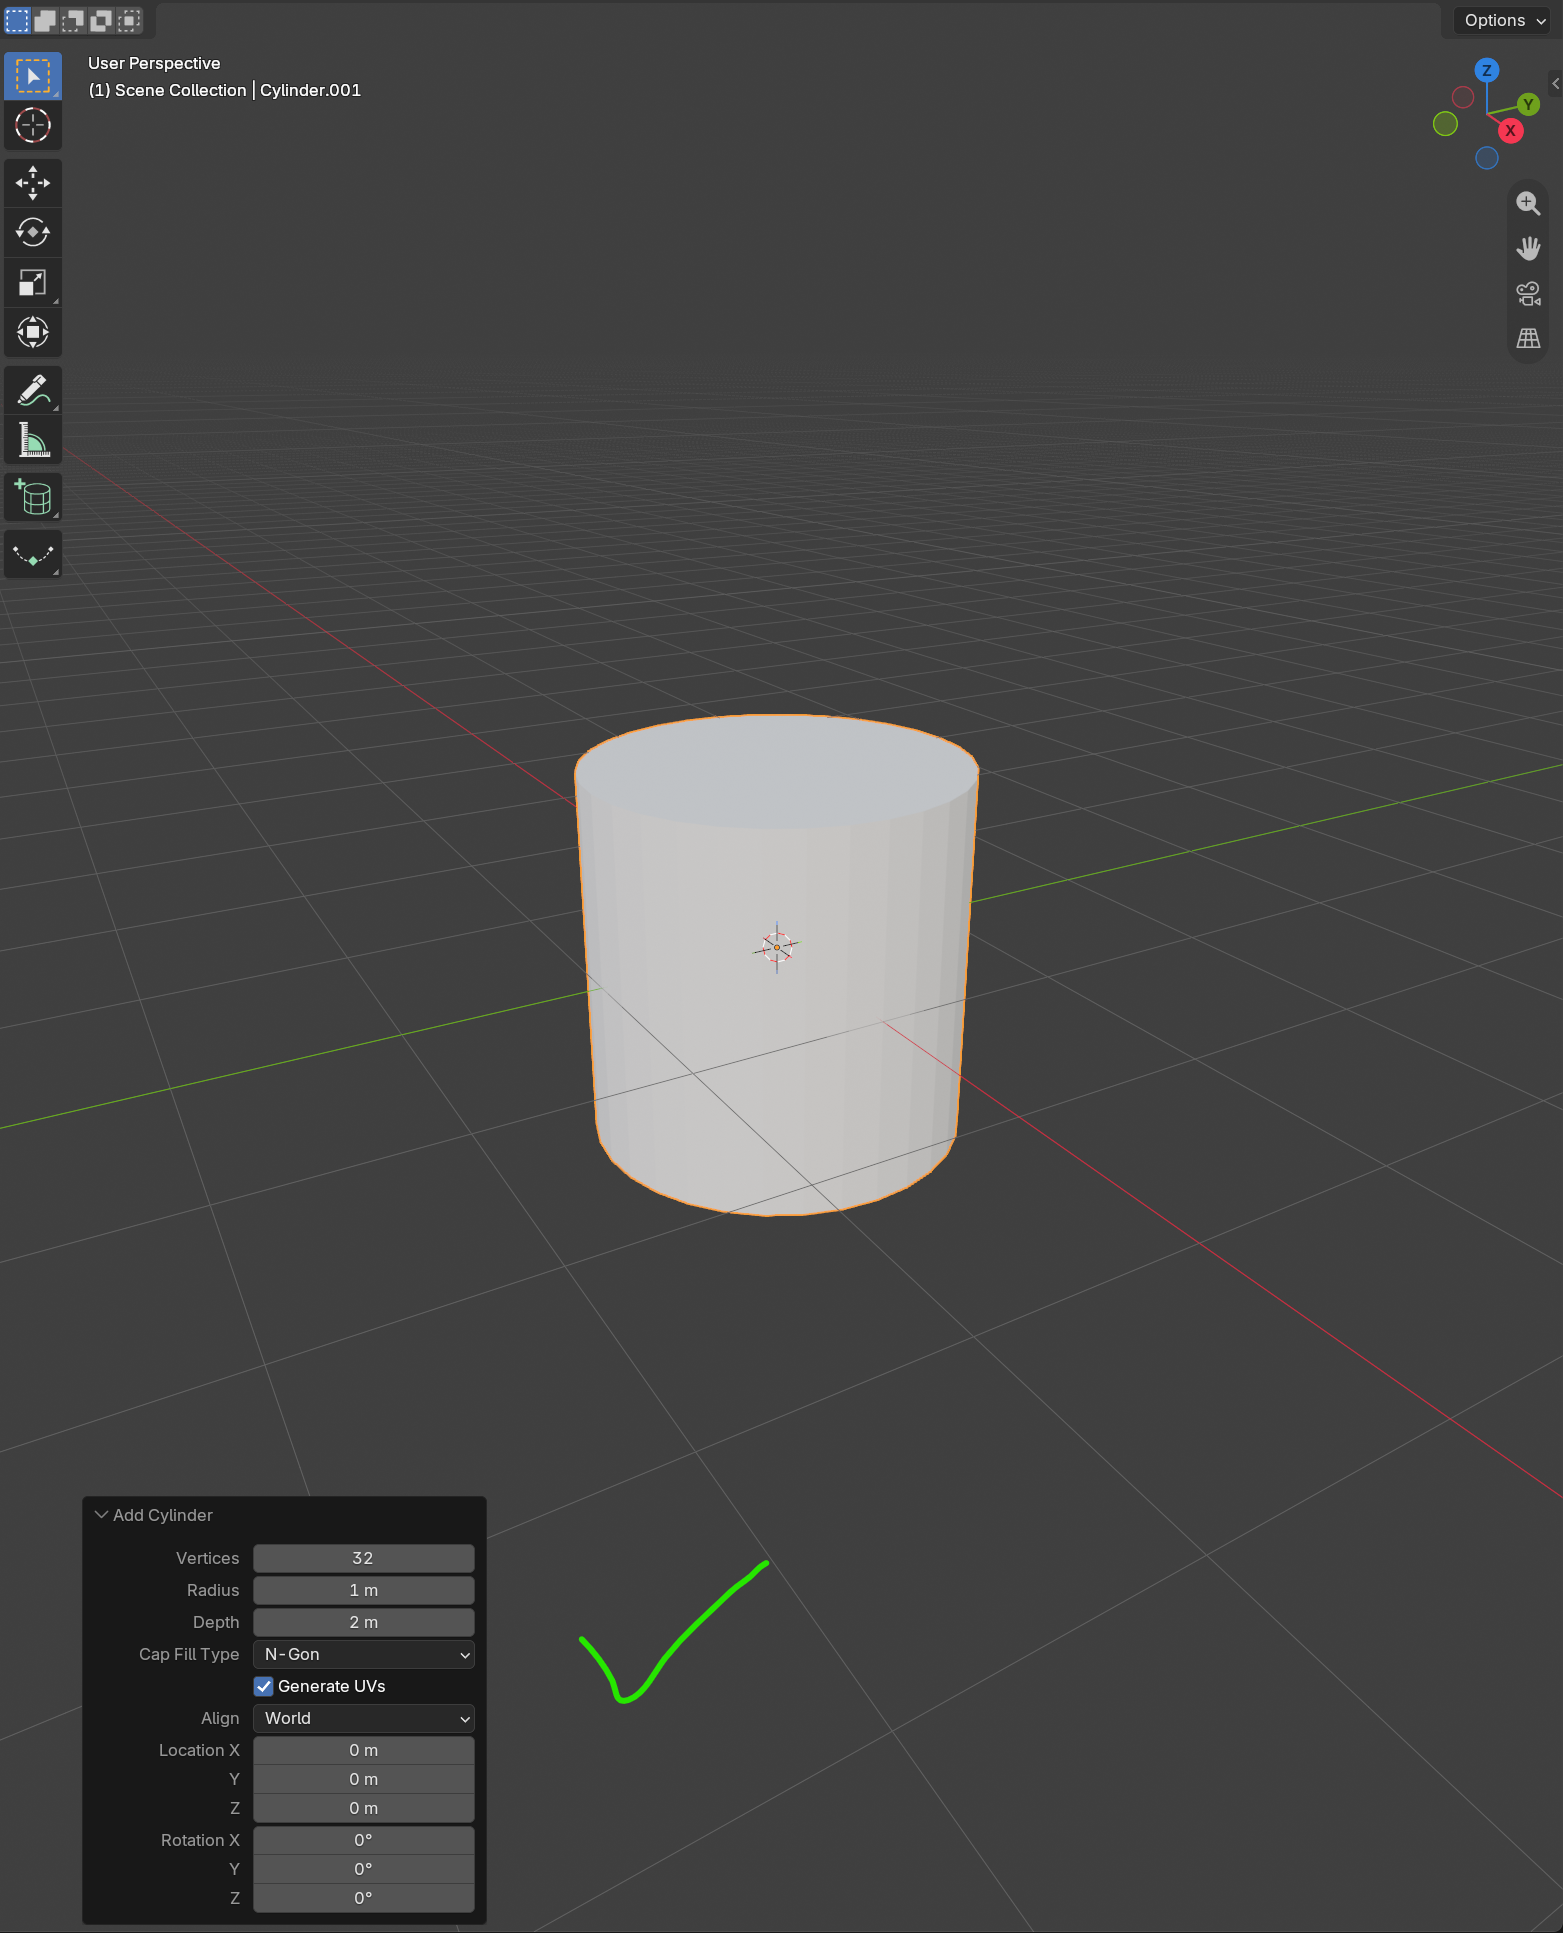
Pain point 1: When adding a new shape onto the canvas I was not given the appropriate editing tool that is scripted to appear whenever a new shape is added. Considering that this was literally step 1 I was not amused, the solution to this problem was simply hoping that the software has mercy on me, because upon deleting the shape and adding it again, I was now given the editing tool. I have not figured out what caused the window to not appear.
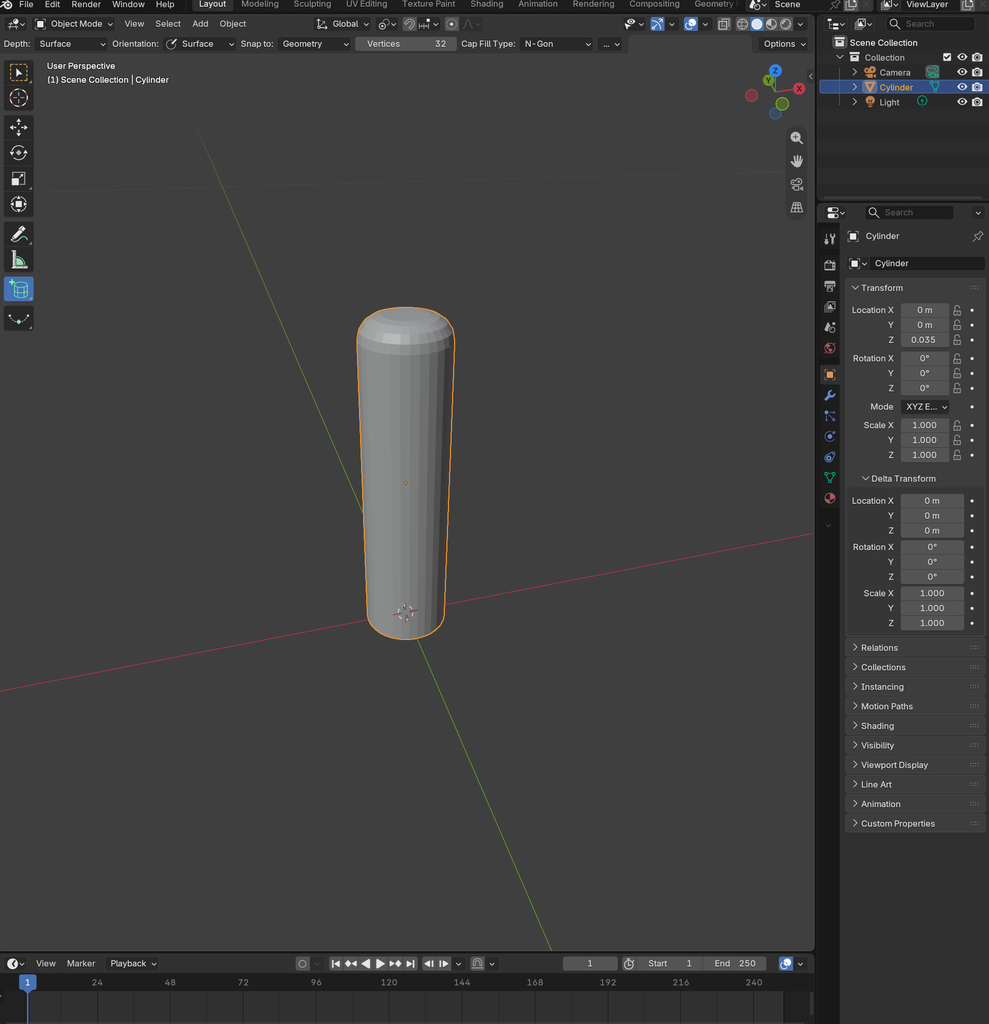
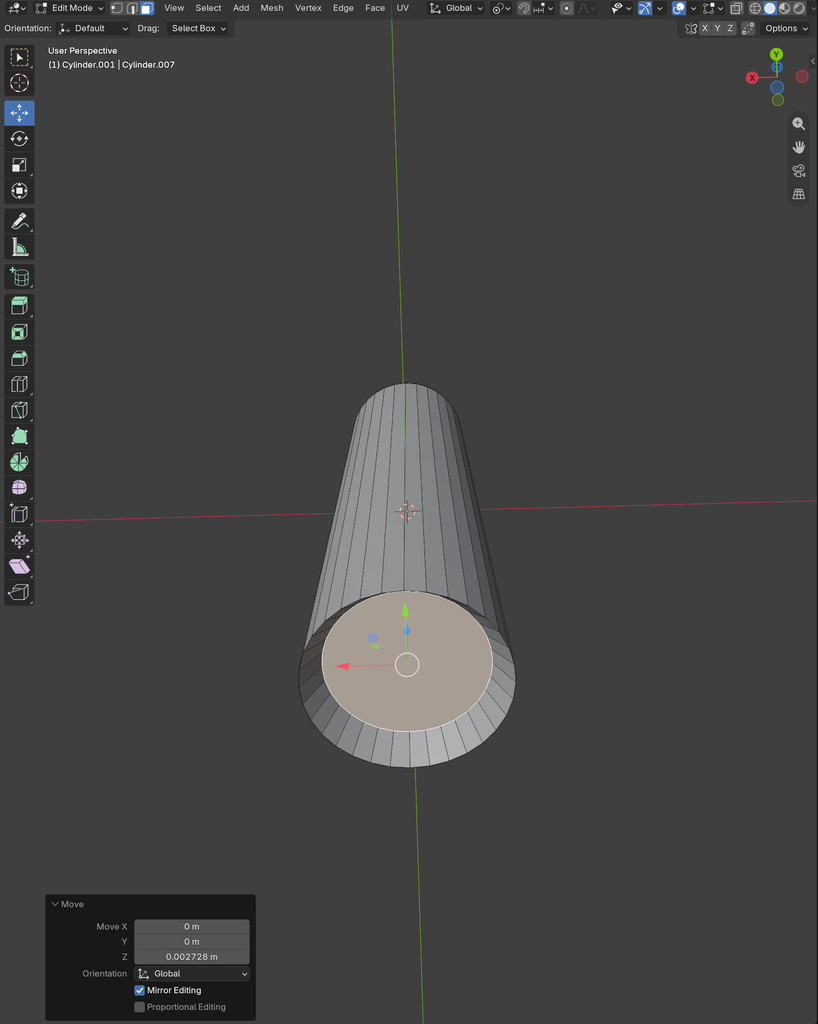
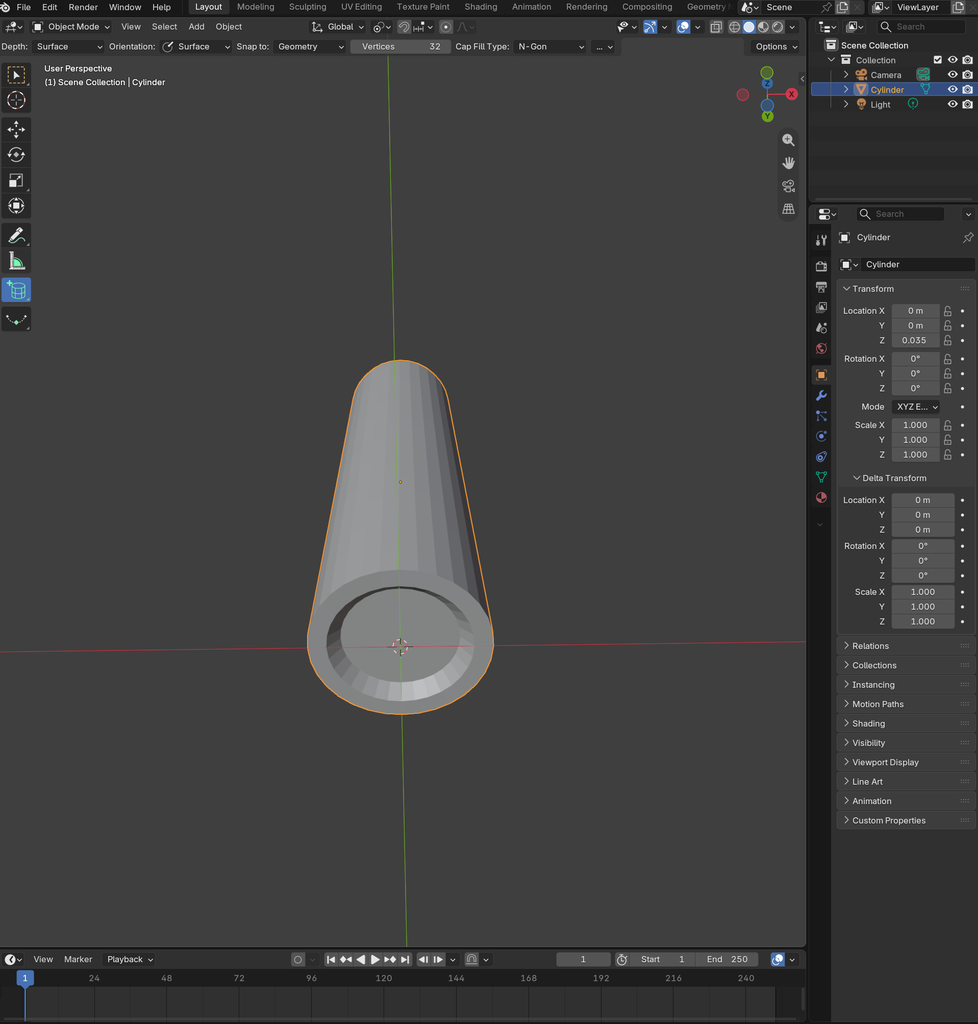
Pain point 2: despite following the tutorial closely, it appears that my model functioned a little differently from the example. When creating a small hollow opening on the lid, mine appeared to have a very sharp edge which was not accurate. In order to fix this, I have used the “insert faces” feature twice instead of once, making the rim look more fuller since it now counted as a new face. I was happy with this outcome, not only because it looked much more accurate to the example now but also due to me actively developing my problem solving skills during it.
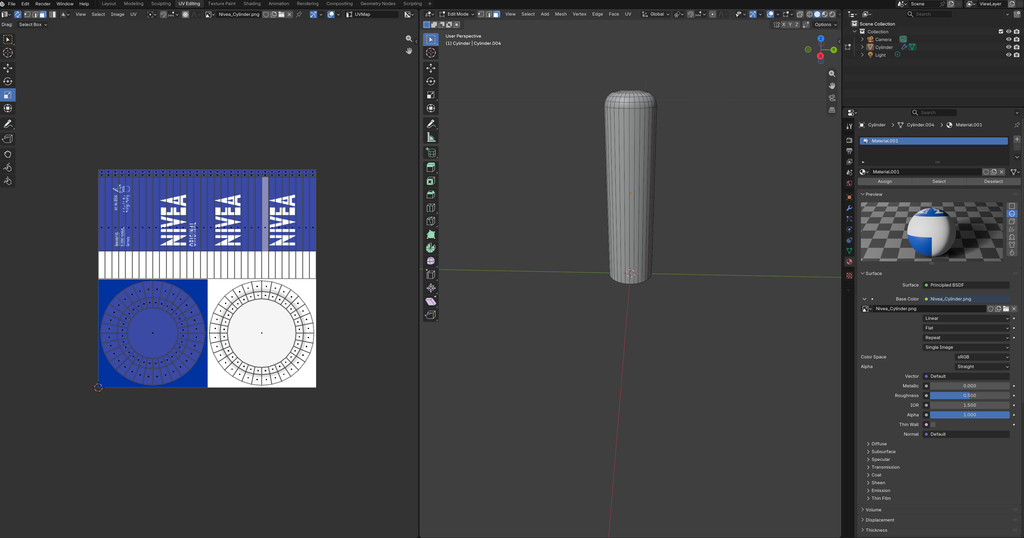
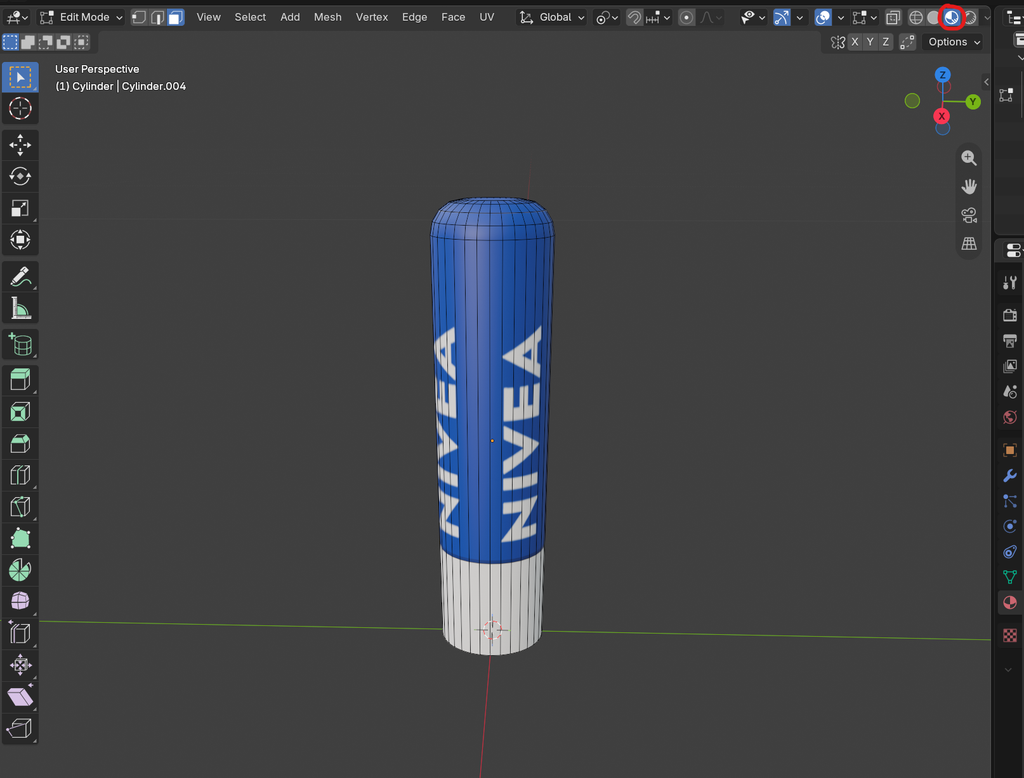
Pain point 3: This software confronted my pre-established notions of similar design software. I could not figure out why I couldn’t see the imported design on my model as a texture, that was because I was viewing the model in the wrong mode. Whilst it was a very easy mistake to fix, it did give me insight on patient and adaptable graphic designers are meant to be when presented with brand new software.
Personal exercise
Now having knowledge of the basics of Blender, I wanted to test myself with one extra experiment before I move onto my project-relevant design, knowing it will be my biggest challenge yet. I wanted to make a 250ml can since it is not only a beginner-friendly model, but also very practical for mock-up purposes for my secondary project. Since I was not being guided through it, it had a ton of mistakes and frustrations made during it’s creation, however the finished result looked professional and realistic, and most importantly, it taught me to solve problems by myself that I did not ever expect to come across.
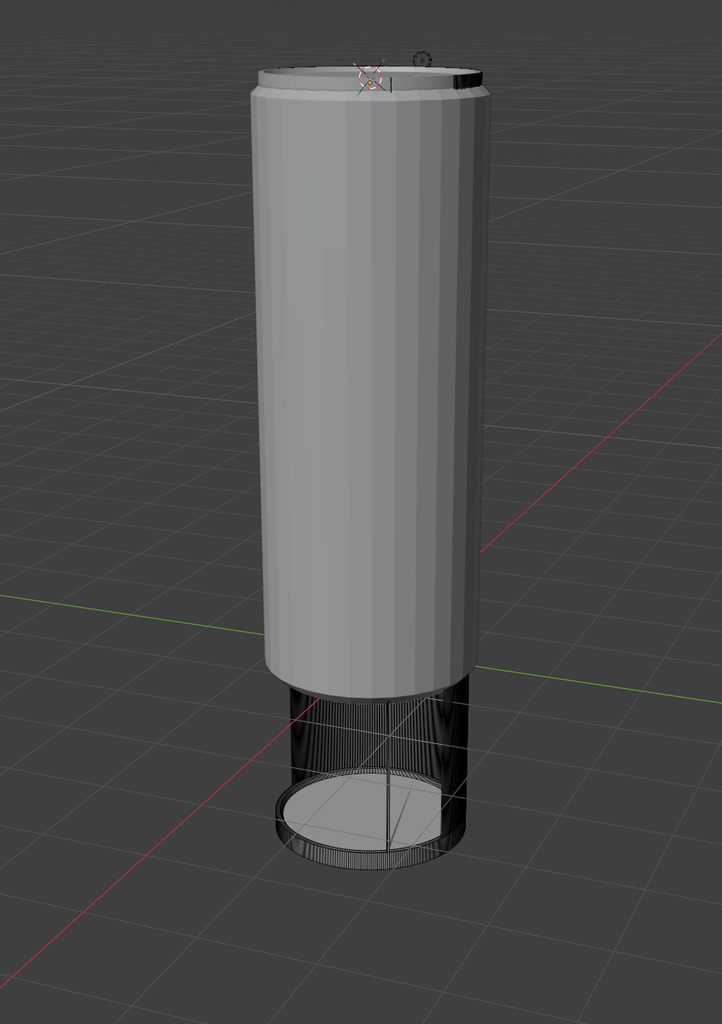
Pain point 1: Whilst adding the metal bits onto the ends of the can I assumed I could cut corners and so I decided to duplicate the circle on top and move it onto the bottom. That turned out to be a tragedy. It was difficult for me to figure out how to select individual shapes, since it is not a 1-click process like on every other design software, and any time I assumed I selected the circle it appears that I also selected a lot of other details I do not need, which have stretched out and distorted whilst being moved. I could not figure out how to relocate the duplicated shapes, so instead I just made a new one and moved it to below the can after adjusting it the same way I have with the top one, that worked.
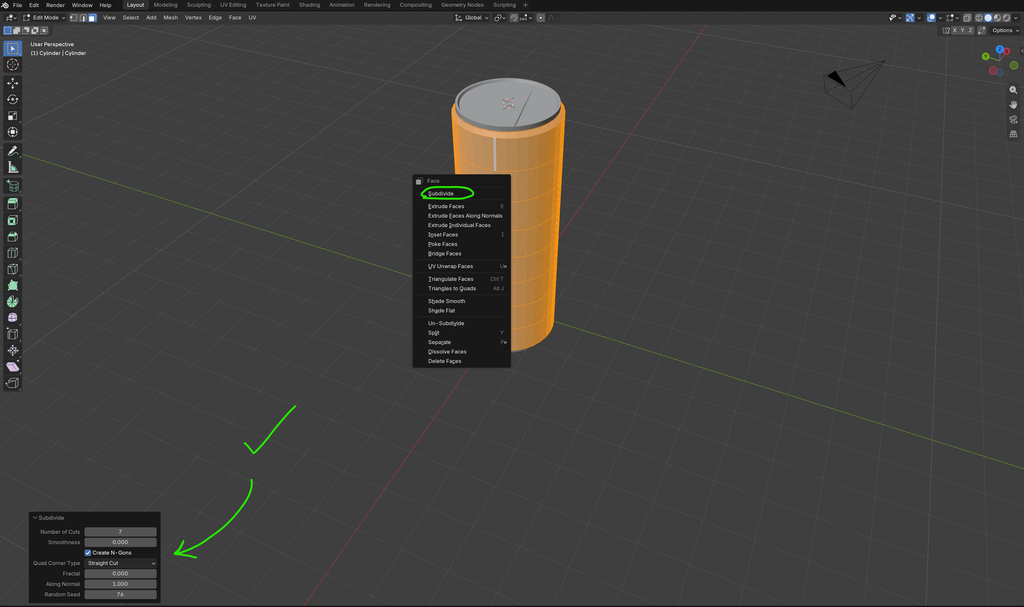
Pain point 2: Despite selecting the middle cylinder and clicking the auto-smooth option, the shape remained rigid. This was very frustrating because it has worked with every other shape before and after this problem. To attempt to fix this I decided to limit test and use an option I was unfamiliar with, the subdivide. Subdivide divides the selected faces into even more faces, this makes the model more realistic and higher quality, as well as permitting less restrictive editing. However it did not smoothen out my shape either, and I had to force close the software since it overloaded the computer. When I opened the file back up, I deleted the rigid cylinder and created a new identical one from scratch, the auto-smooth option worked on the new cylinder. I never figured out what was the problem with the original cylinder and now I never will.
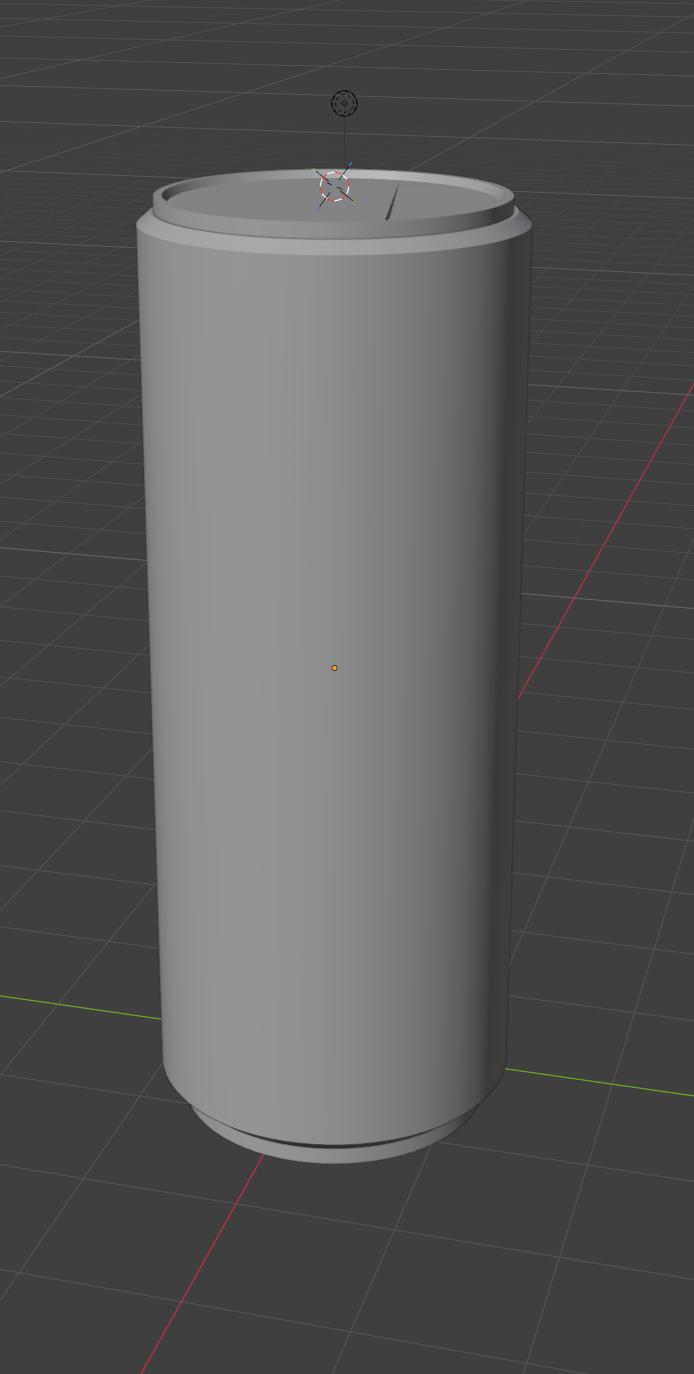
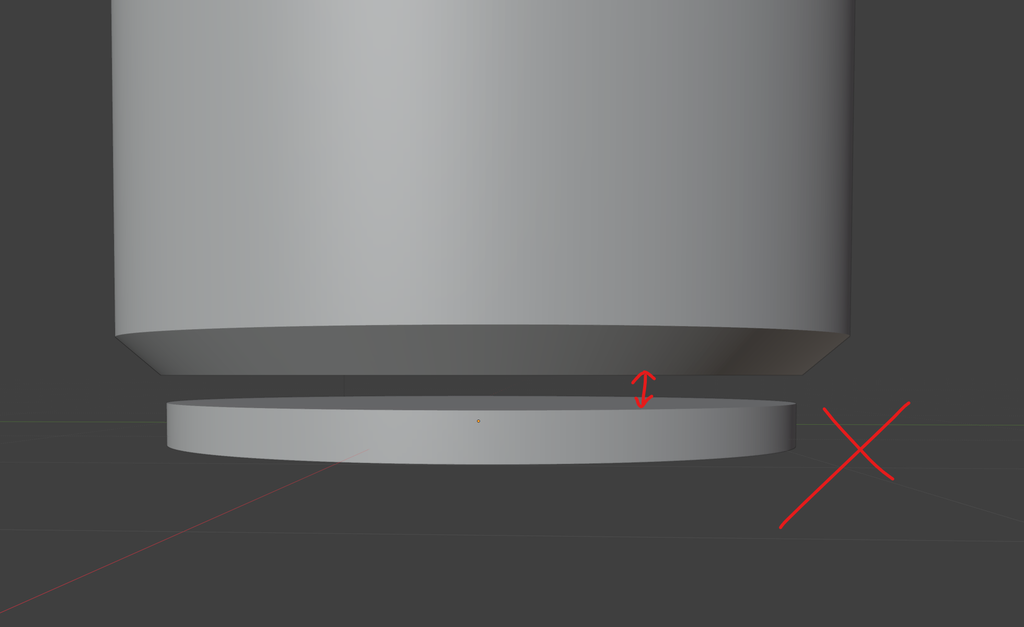
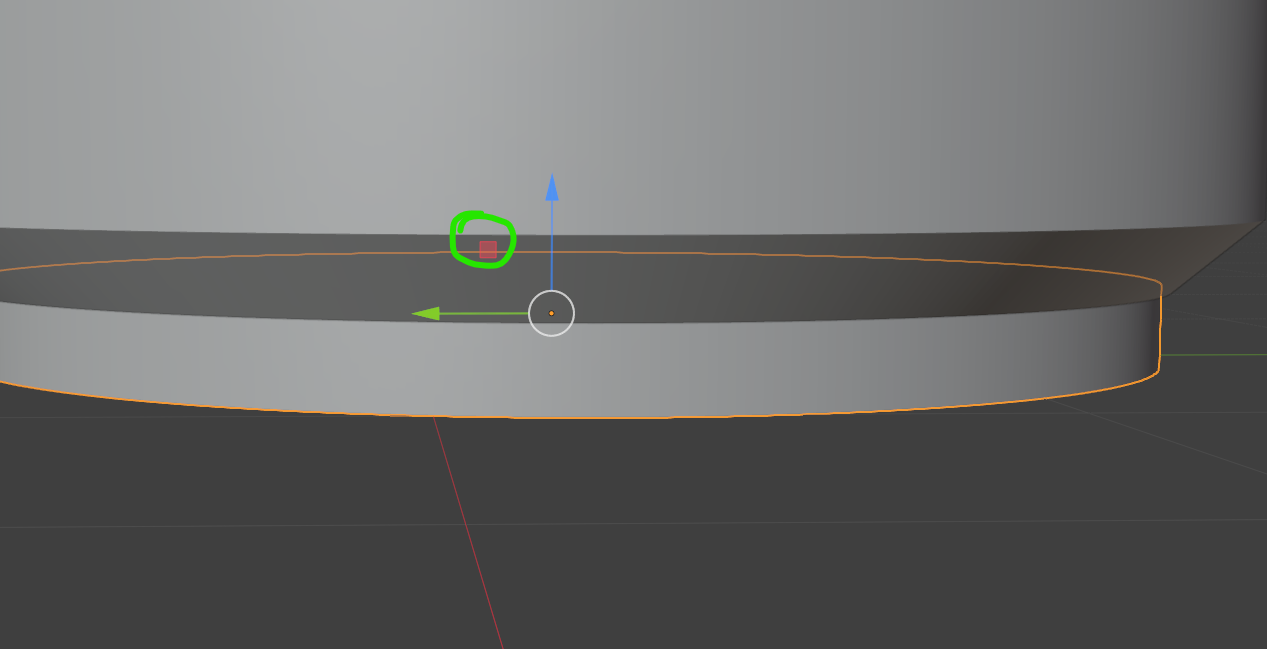
Pain point 3: I could not figure out how to move shapes, it was a humbling experience. The solution was to play around and click on everything, until I clicked and dragged the red square which is responsible for shape movement. This feature has the capability to become one of my most used tools should I pursue 3D modelling further into this project.
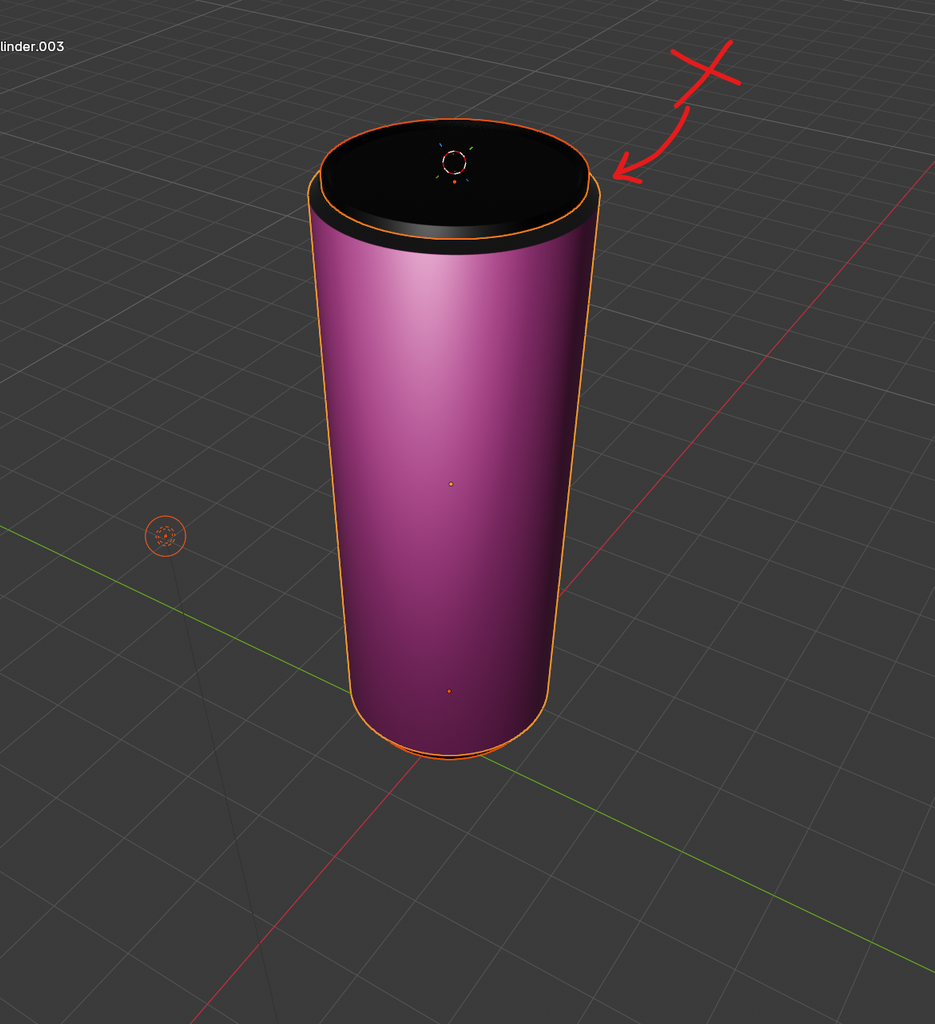
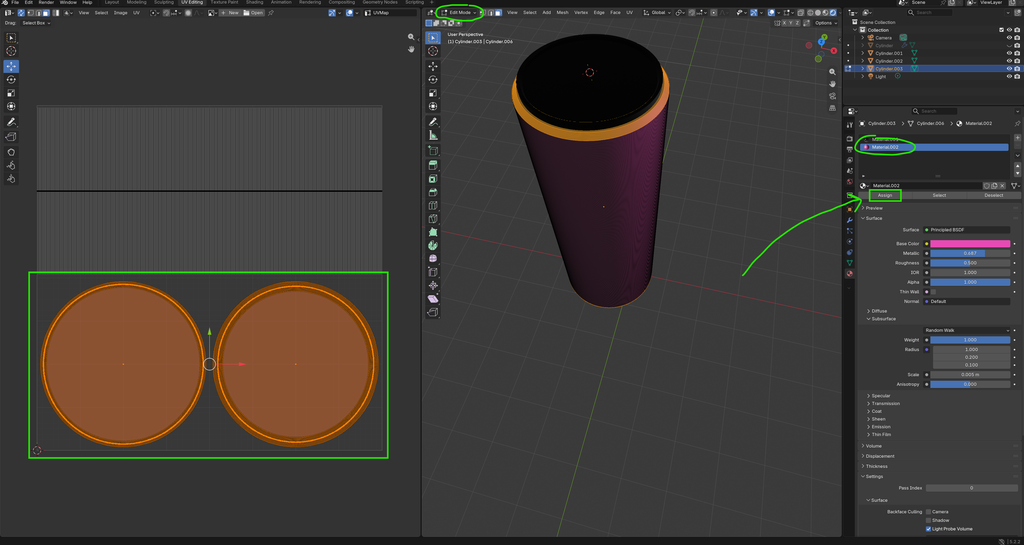
Pain point 4: the bevelled faces managed to avoid my selection tool, and therefore were not textured alongside the rest of the model. This was the pain point that I have spent the most time trying to fix, because I could not retrace my steps in order to find out what I have done wrong. After a while I realised that I forgot to select “edit mode”, meaning I could not edit the selected shapes. Upon changing modes I was finally able to select the faces on the UV panel and apply the texture.
This secondary project has noticeably improved my competence in 3D modelling, and whilst before I didn’t consider the possibility of using Blender for any of my projects, my opinion has been swayed as I personally experienced how it feels. My project involves the brand LYNX which are known for their luxurious and modern advertisements, creating my own 3D models would unlock endless possibilities in advertisement and marketing, unlike how limiting an online 2D mock-up would. After admiring my personal exercise I have moved onto achieving my dream model for this project.
Personal exercise 2 – Emerging technology project assets
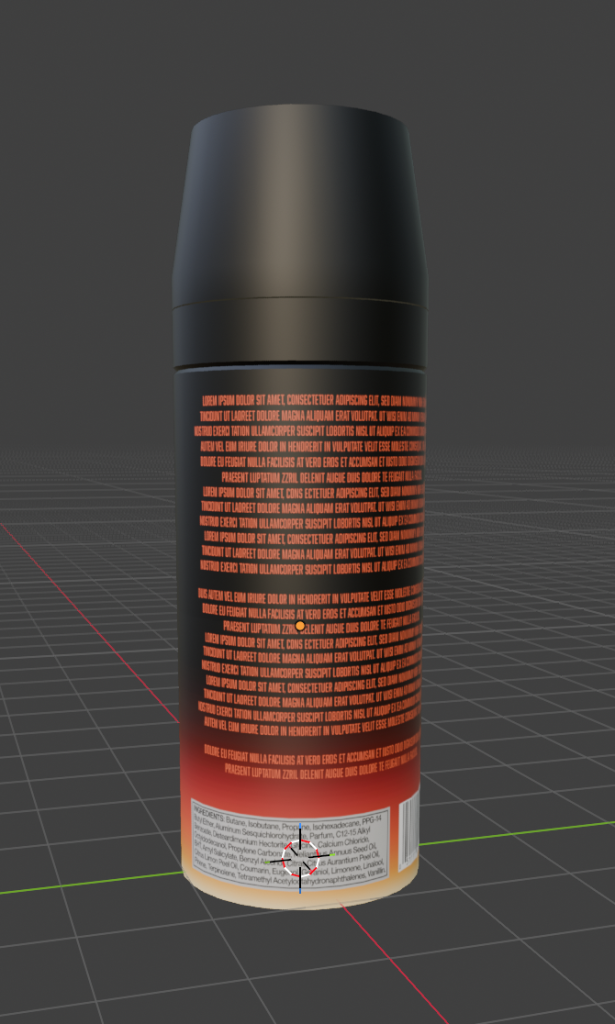
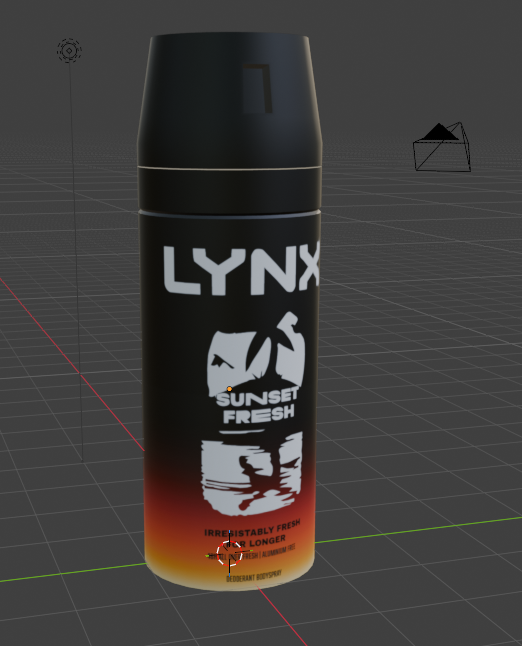
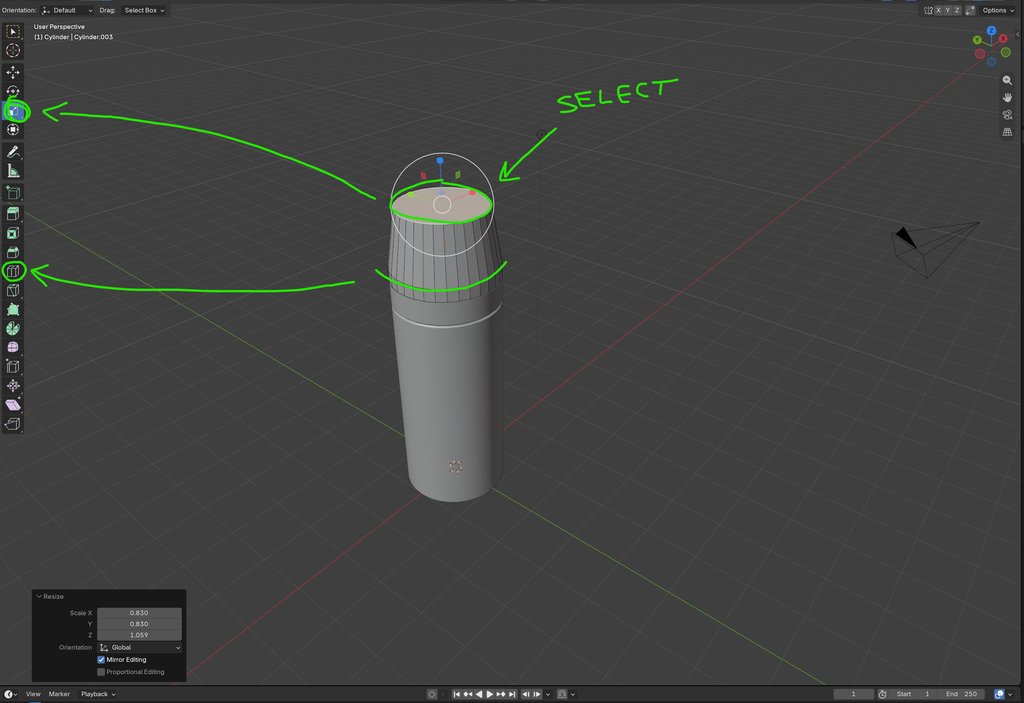
Finally, I felt ready to create an asset that is relevant to the current project. It was the hardest challenge yet due to irregular shapes that are used that despite appearing simple, require me to use a combination of tools in order to achieve the easiest of feats. I needed to note down how to make a shape narrow from only one end. This required a lot of precise selection and a lot of experimentation, until I have figured out a reliable formula.
For this experiment I crudely copied a pre-existing sunset fresh design in order to demonstrate that I am not only able to create my own 3D models but also make my own textures for said models. It was difficult to get the measurements correctly, but I have learnt that the side and top/bottom textures have to be the same length and width for most accurate results.
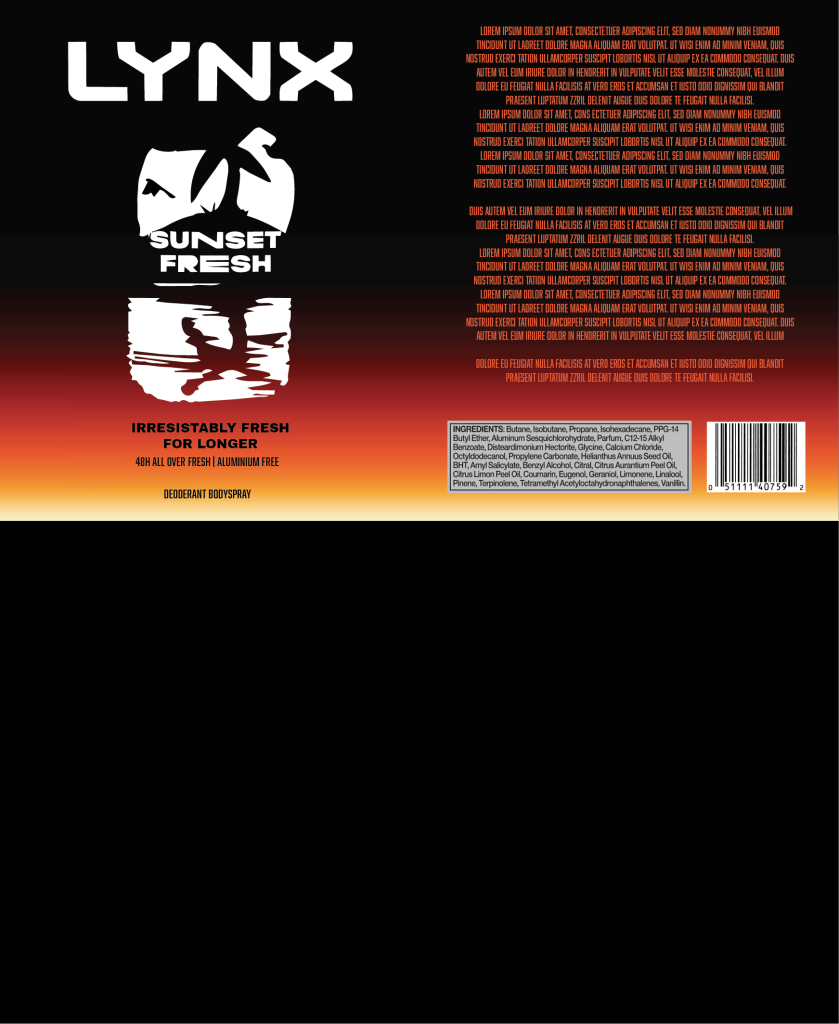
The dedication to learning a new software yielded a realistic result. The final outcome of this experiment involved multiple features that were not included in the tutorial, for example the lid being an irregular shape and the spray-hole on said lid.
With this experiment I feel more confident in attempting to tackle more elaborate 3D designs, and this new knowledge is highly beneficial in my career pathway as a general graphic designer, especially in branches such as marketing and advertisement.